Move-In Deep Cleaning Checklist for Your New Home
Moving into a new home? Use this room-by-room deep cleaning checklist to get cabinets, appliances, floors, and baseboards truly move-in ready and pest-resistant.
Getting Your New Home Truly “Move-In Ready”
We recently got a call from a new homeowner — let’s call her Amy — who had just moved into a three-bedroom home. On a “1 to 10” scale of dirty, she rated it a solid 7. The previous owners were gone, the house looked okay at a glance, but once she started opening cabinets and looking behind appliances, she saw dust, crumbs, and old spills everywhere.
Like a lot of our move-in clients, Amy wanted everything done: inside and outside of cabinets, inside the fridge, oven, and microwave, tops and sides of appliances, baseboards, and all the floors — hardwood and vinyl, no carpet. She also had pest control scheduled and wanted the deep clean to support that, especially around baseboards and hidden areas where pests like to hide.
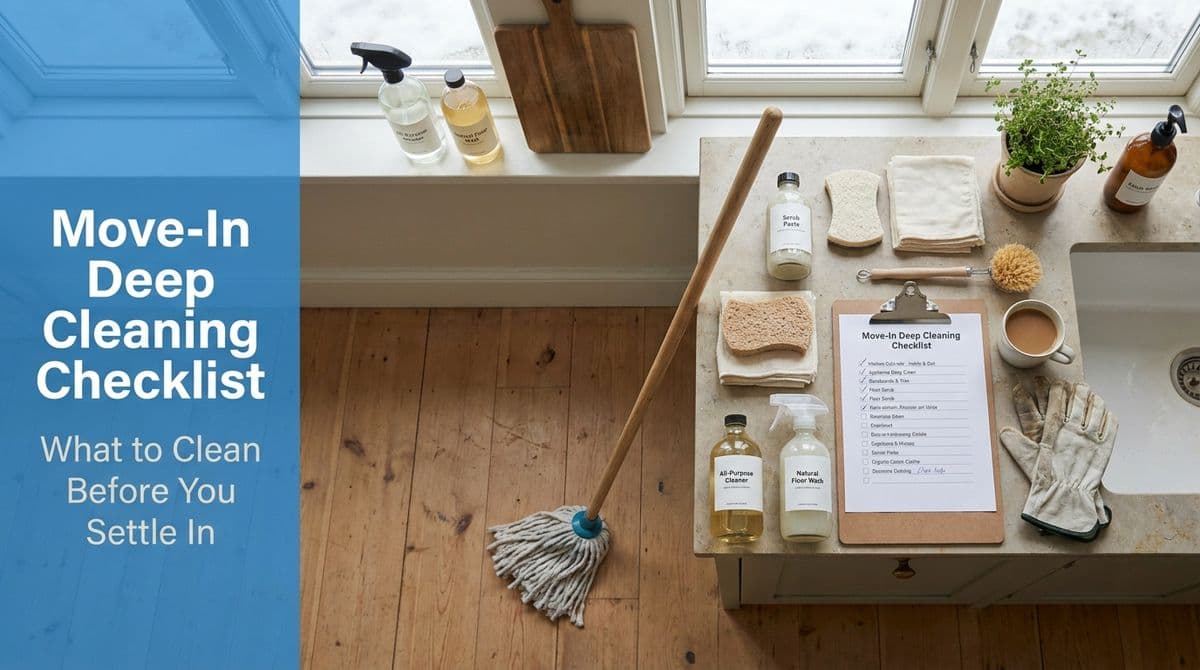
If you’re in Amy’s shoes, this checklist will walk you through what a true move-in deep clean should include before you unpack a single box.
Start at the Top: Ceilings, Fans, Vents, and Walls
We always work from the top down so dust and debris fall onto areas we haven’t cleaned yet.
- Ceilings & corners: Use an extendable duster or microfiber mop to remove cobwebs and dust from corners, ceiling edges, and light fixtures.
- Ceiling fans: Slide a pillowcase over each blade, pull it back to trap dust, then wipe with a slightly damp microfiber cloth and a gentle cleaner.
- Air vents & returns: Remove vent covers, vacuum dust, and wipe with a mild detergent. This helps with air quality in your new home.
- Walls & switch plates: Spot-clean smudges and fingerprints, especially around light switches, door frames, and around the kitchen where grease splatter happens.
Cabinets and Drawers: Inside, Outside, and Hardware
Amy specifically requested inside and outside of all cabinets, which is exactly what we recommend before you put dishes, food, or linens away.
- Empty every cabinet and drawer: Even if they look clean, you’ll usually find crumbs, dust, or pet hair.
- Vacuum first: Use a vacuum with a crevice tool to suck up loose debris so you don’t smear it around with your cleaner.
- Wipe interiors: Use a mild all-purpose cleaner safe for painted or laminate surfaces. For raw wood shelves, a slightly damp (not wet) cloth is best.
- Clean doors and fronts: Pay attention to edges and grooves where grease and fingerprints build up.
- Hardware and handles: Wipe knobs and pulls with a disinfecting cleaner — they’re high-touch and often overlooked.
When you’re done, leave cabinet doors open for a few minutes to dry completely before loading them.
Kitchen Appliances: Inside, Outside, Top, Sides, and Fronts
Like Amy, most move-in clients ask for the “whole package” on appliances — and with good reason. Old food and grease are not just gross; they can attract pests.
Refrigerator
- Unplug if needed: If you’re doing a major clean, unplug the fridge briefly for safety.
- Remove shelves and drawers: Wash them in warm, soapy water and let them dry thoroughly.
- Interior surfaces: Wipe with a solution of warm water and a little dish soap or vinegar. Avoid harsh chemicals inside food areas.
- Door gaskets: Carefully clean the rubber seals with a damp cloth; crumbs love to hide here.
- Top and sides: Dust and wipe the top (often very dirty in older homes) and, if accessible, the sides.
Oven and Stovetop
- Remove racks: Soak in warm, soapy water or use an oven-safe cleaner as directed.
- Interior cleaning: If using the self-clean function, do it before your full house clean, as it can create smoke and residue. Otherwise, use an appropriate oven cleaner, following manufacturer guidelines.
- Stovetop: Lift the burners (if applicable), clean drip pans, and wipe underneath. For glass tops, use a non-scratch cleaner.
- Control knobs and front panel: Remove knobs if possible and wipe around them where grease builds up.
Microwave and Dishwasher
- Microwave: Heat a bowl of water with a splash of vinegar for a few minutes, let it steam, then wipe out softened splatters.
- Dishwasher: Remove the bottom rack, clean the filter, wipe the door edges and gasket, then run a hot cycle with a dishwasher cleaner.
Baseboards, Trim, and the Pest Control Connection
One thing Amy brought up — and we hear this often — was coordinating cleaning with pest control. A thorough deep clean makes treatments more effective and can help prevent future issues.
- Baseboards: Vacuum along edges first, then wipe with a damp microfiber cloth and a gentle cleaner. Pay attention to corners and behind doors.
- Trim and door frames: Dust and wipe the tops and sides where dust and cobwebs collect.
- Behind and under appliances: Pull out the fridge and stove (if safe to do so) and clean up food scraps, grease, and dust bunnies — prime pest hotspots.
A clean, crumb-free environment gives pests fewer reasons to stick around and makes it easier for your pest control professional to spot and treat any activity.
Floors by Surface Type: Hardwood vs. Vinyl
In Amy’s home, every room was either hardwood or vinyl, which is increasingly common. Each surface needs a slightly different approach during a deep clean.
Hardwood Floors
- Dry first: Vacuum with a hard-floor setting or use a microfiber dust mop to remove grit that can scratch.
- Damp mop only: Use a wood-safe cleaner and a lightly damp microfiber mop. Standing water can damage hardwood.
- Edges and corners: Hand-wipe along baseboards where mops can’t reach.
Vinyl Floors
- Vacuum or sweep: Remove dust and debris first.
- Wet mop OK: Vinyl can handle more moisture than hardwood. Use a mild, non-abrasive floor cleaner.
- Spot cleaning: For stuck-on residue, let cleaner sit a minute before gently scrubbing with a non-scratch pad.
Bathrooms: High-Touch and High-Priority
Even if the bathrooms look “okay,” we treat them as a priority in move-in cleanings, especially when there are multiple full and half baths like in Amy’s home.
- Showers and tubs: Remove soap scum, hard water buildup, and hair from drains and strainers.
- Toilets: Clean and disinfect inside and out, including hinges, bases, and surrounding floor.
- Vanity cabinets and drawers: Same inside/out treatment as the kitchen — vacuum, then wipe.
- Fixtures and mirrors: Polish faucets and handles, and use a streak-free glass cleaner on mirrors.
Final Touches Before You Unpack
Once your top-to-bottom checklist is complete, do a slow walkthrough of your new home:
- Check the tops of doors, window sills, and closet shelves.
- Open every cabinet and drawer to be sure they’re dry and debris-free.
- Run your hand along baseboards and corners to spot missed dust.
That’s the level of detail we aim for in every move-in and move-out cleaning. Whether you tackle it yourself or bring in a professional team, using a thorough checklist like this one helps your new home feel truly fresh, healthy, and ready for you to settle in.