How to Safely Clean & Disinfect Your Basement After Flooding
Got minor basement flooding from rainwater? Learn how we safely clean and disinfect tile, epoxy floors, and baseboards so your basement feels fresh again.
“We Just Want to Disinfect the Basement After Rainwater”
We recently got a call from a homeowner — let’s call her Lisa — who had a problem we hear a lot. After a heavy rain, water had made its way into her basement. By the time she called us, everything was already dry. There was no mud, no standing water, and no visible damage to the walls. She just wanted to disinfect the space so she could feel comfortable using her basement again.
Her basement was about 460 square feet, half finished with tile and half unfinished with an epoxy floor. The water had touched the floors and some baseboards, but not the drywall. Lisa told us, “If I were doing it myself, I’d just do a bleach and water solution and bleach the floors. I just want to disinfect it after the rainwater was on there.”
We walked her through the difference between a standard clean and a deep clean, how we disinfect after rainwater intrusion, and when it makes sense to call in a professional versus doing it yourself. We’ll share that same step-by-step guidance here so you can safely clean and disinfect your own basement after minor flooding or water intrusion.
Step 1: Make Sure the Basement Is Truly Dry
Before any cleaning happens, the space needs to be fully dry. In Lisa’s case, she had already removed the water and run fans, so we were ready to focus on cleaning. If you’re not there yet, pause and handle drying first.
Here’s what we recommend before disinfecting:
- Remove standing water: Use a wet/dry vacuum, mop, or pump for small puddles.
- Run fans and a dehumidifier: Aim them across the floor, not just at one spot. Run them for 24–48 hours if needed.
- Check hidden areas: Look under storage racks, behind furniture, and around columns for damp spots.
- Inspect walls and baseboards: In Lisa’s situation, only the floors and baseboards were affected — that’s what we typically consider a “minor” event. If drywall is wet, that’s a different level of concern.
If the floor still feels cool and damp to the touch or you see new moisture forming, hold off on disinfecting. Cleaning on a wet surface can dilute products and slow everything down.
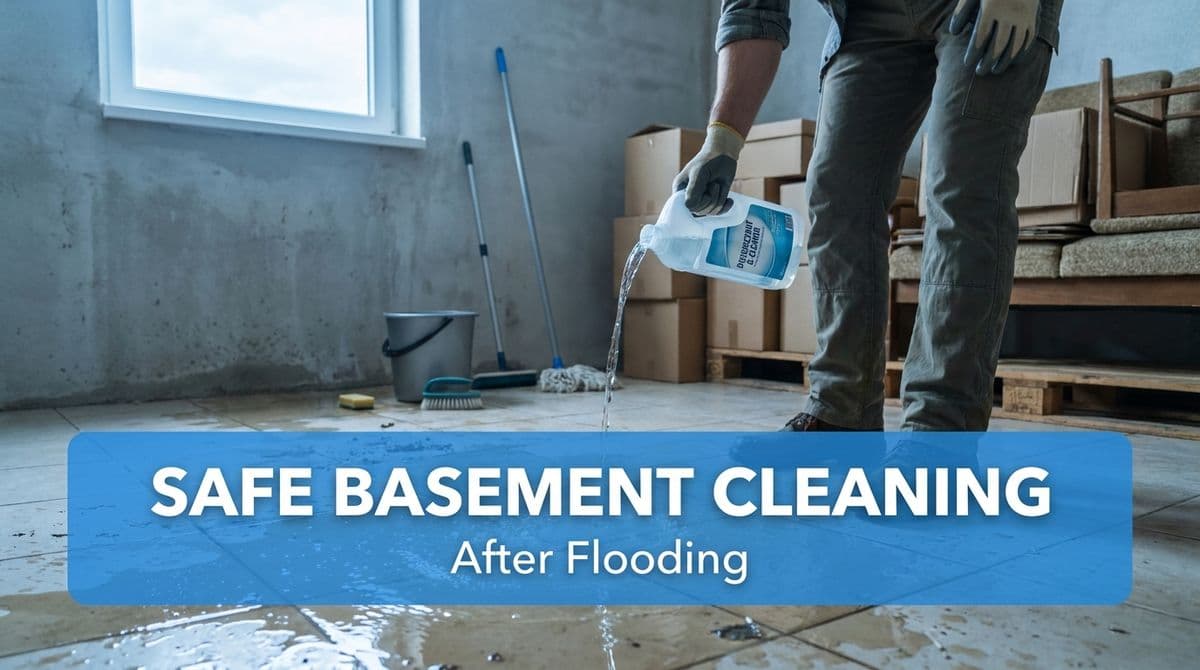
Step 2: Choose Safe Disinfecting Products
One of Lisa’s biggest questions was about products: “Do you use a bleach solution to get rid of any bacteria from the rainwater?” We understand why bleach is the first thing that comes to mind — it’s strong and familiar — but it’s not always the best or safest choice for every home.
Here’s how we think about products for a post-rainwater basement clean:
- Hard, non-porous floors (tile, sealed concrete, epoxy): A disinfectant cleaner that’s EPA-registered for bacteria and viruses is ideal. Many are safer and less harsh than full-strength bleach.
- Baseboards: We usually use a mild cleaner plus an appropriate disinfectant, being careful not to damage paint or finish.
- Bleach solutions (if you use them): Follow label instructions, wear gloves, ensure good ventilation, and never mix bleach with other cleaners (especially anything containing ammonia).
When we clean a basement like Lisa’s, we bring our own supplies and equipment so everything is properly matched to the surfaces in the space.
Step 3: Clear the Floor and Dust Before You Disinfect
Disinfection works best on clean surfaces. That’s one of the key differences we explained to Lisa between a standard cleaning and a deep cleaning.
Before you pull out disinfectant:
- Remove items from the floor: Boxes, rugs, storage bins, and small furniture should be moved or lifted.
- Dry dust or vacuum: Get up loose dirt, dust, and hair so your disinfectant can actually reach the surface.
- Spot clean any residue: If you had small dirt lines from where the water receded, wipe those first with a mild cleaner.
In our deep cleaning service, we build this prep into the visit so that when we move to disinfecting, we’re not just pushing dirty water around.
Step 4: Clean and Disinfect the Floors
Once things are cleared and prepped, you’re ready for the main event — the floors. Lisa’s basement had two common types we see: tile and epoxy. Both are considered non-porous and generally straightforward to disinfect.
For a safe, effective floor clean:
- Mix your solution: Follow the label for your disinfectant. If you’re using a bleach solution, stick to recommended ratios and mix in cool water.
- Work in sections: Mop or scrub a small area at a time so the surface stays wet for the product’s required “contact time” (often 5–10 minutes).
- Don’t rush the contact time: This is where a lot of DIY jobs fall short. Disinfectants need time on the surface to actually kill germs.
- Rinse if required: Some products need a clean water rinse afterward, especially on floors where kids or pets play.
For our deep cleans, we focus on coverage and contact time, especially in traffic paths and along the edges where water often lingers.
Step 5: Wipe and Disinfect the Baseboards
Baseboards were a big concern for Lisa: she wanted more than just dusting; she wanted them wiped down and disinfected. That’s exactly what we include in a deep clean for a post-water event.
If you’re doing this yourself, here’s how to handle baseboards safely:
- Start with a mild cleaner: Remove dust and light soil with a damp cloth and gentle cleaner.
- Follow with a compatible disinfectant: Use something safe for painted or finished wood, applied to your cloth first rather than spraying directly on the wall.
- Pay attention to seams and corners: That’s where moisture and grime like to hide.
- Dry as you go: Don’t leave liquid pooling at the bottom edge where the baseboard meets the floor.
This extra attention to the baseboards is what sets a deep clean apart from a basic pass with a mop and duster.
When to Call Professionals Instead of DIY
Lisa was honest: she could do the bleach-and-water routine herself, but she called us because of time, energy, and peace of mind. We see that a lot.
Consider calling in a professional cleaning team if:
- You’re short on time and need the basement ready quickly.
- You want a thorough wipe-down of baseboards, corners, and harder-to-reach spots.
- You’re not sure which products are safe for your surfaces.
- You simply don’t want to handle post-flood cleaning yourself.
For a space about the size of Lisa’s (roughly 460 square feet, half finished and half unfinished), we recommended a deep clean that included disinfecting the floors, wiping and disinfecting the baseboards, and bringing all our own supplies and equipment.
Keeping Your Basement Fresh After the Clean
Once the deep cleaning is done, a few simple habits can help keep things fresh and reduce future issues:
- Run a dehumidifier regularly to keep moisture levels down.
- Store items off the floor on shelves or racks.
- Check window wells and exterior grading to help prevent repeat water intrusion.
- Schedule periodic cleaning if your basement sees regular use or occasional dampness.
Minor flooding and rainwater intrusion don’t have to turn your basement into a long-term problem. With the right drying, disinfecting, and attention to details like baseboards and floor types, you can get your space clean, safe, and comfortable again — whether you tackle it yourself or let our team handle the deep clean for you.